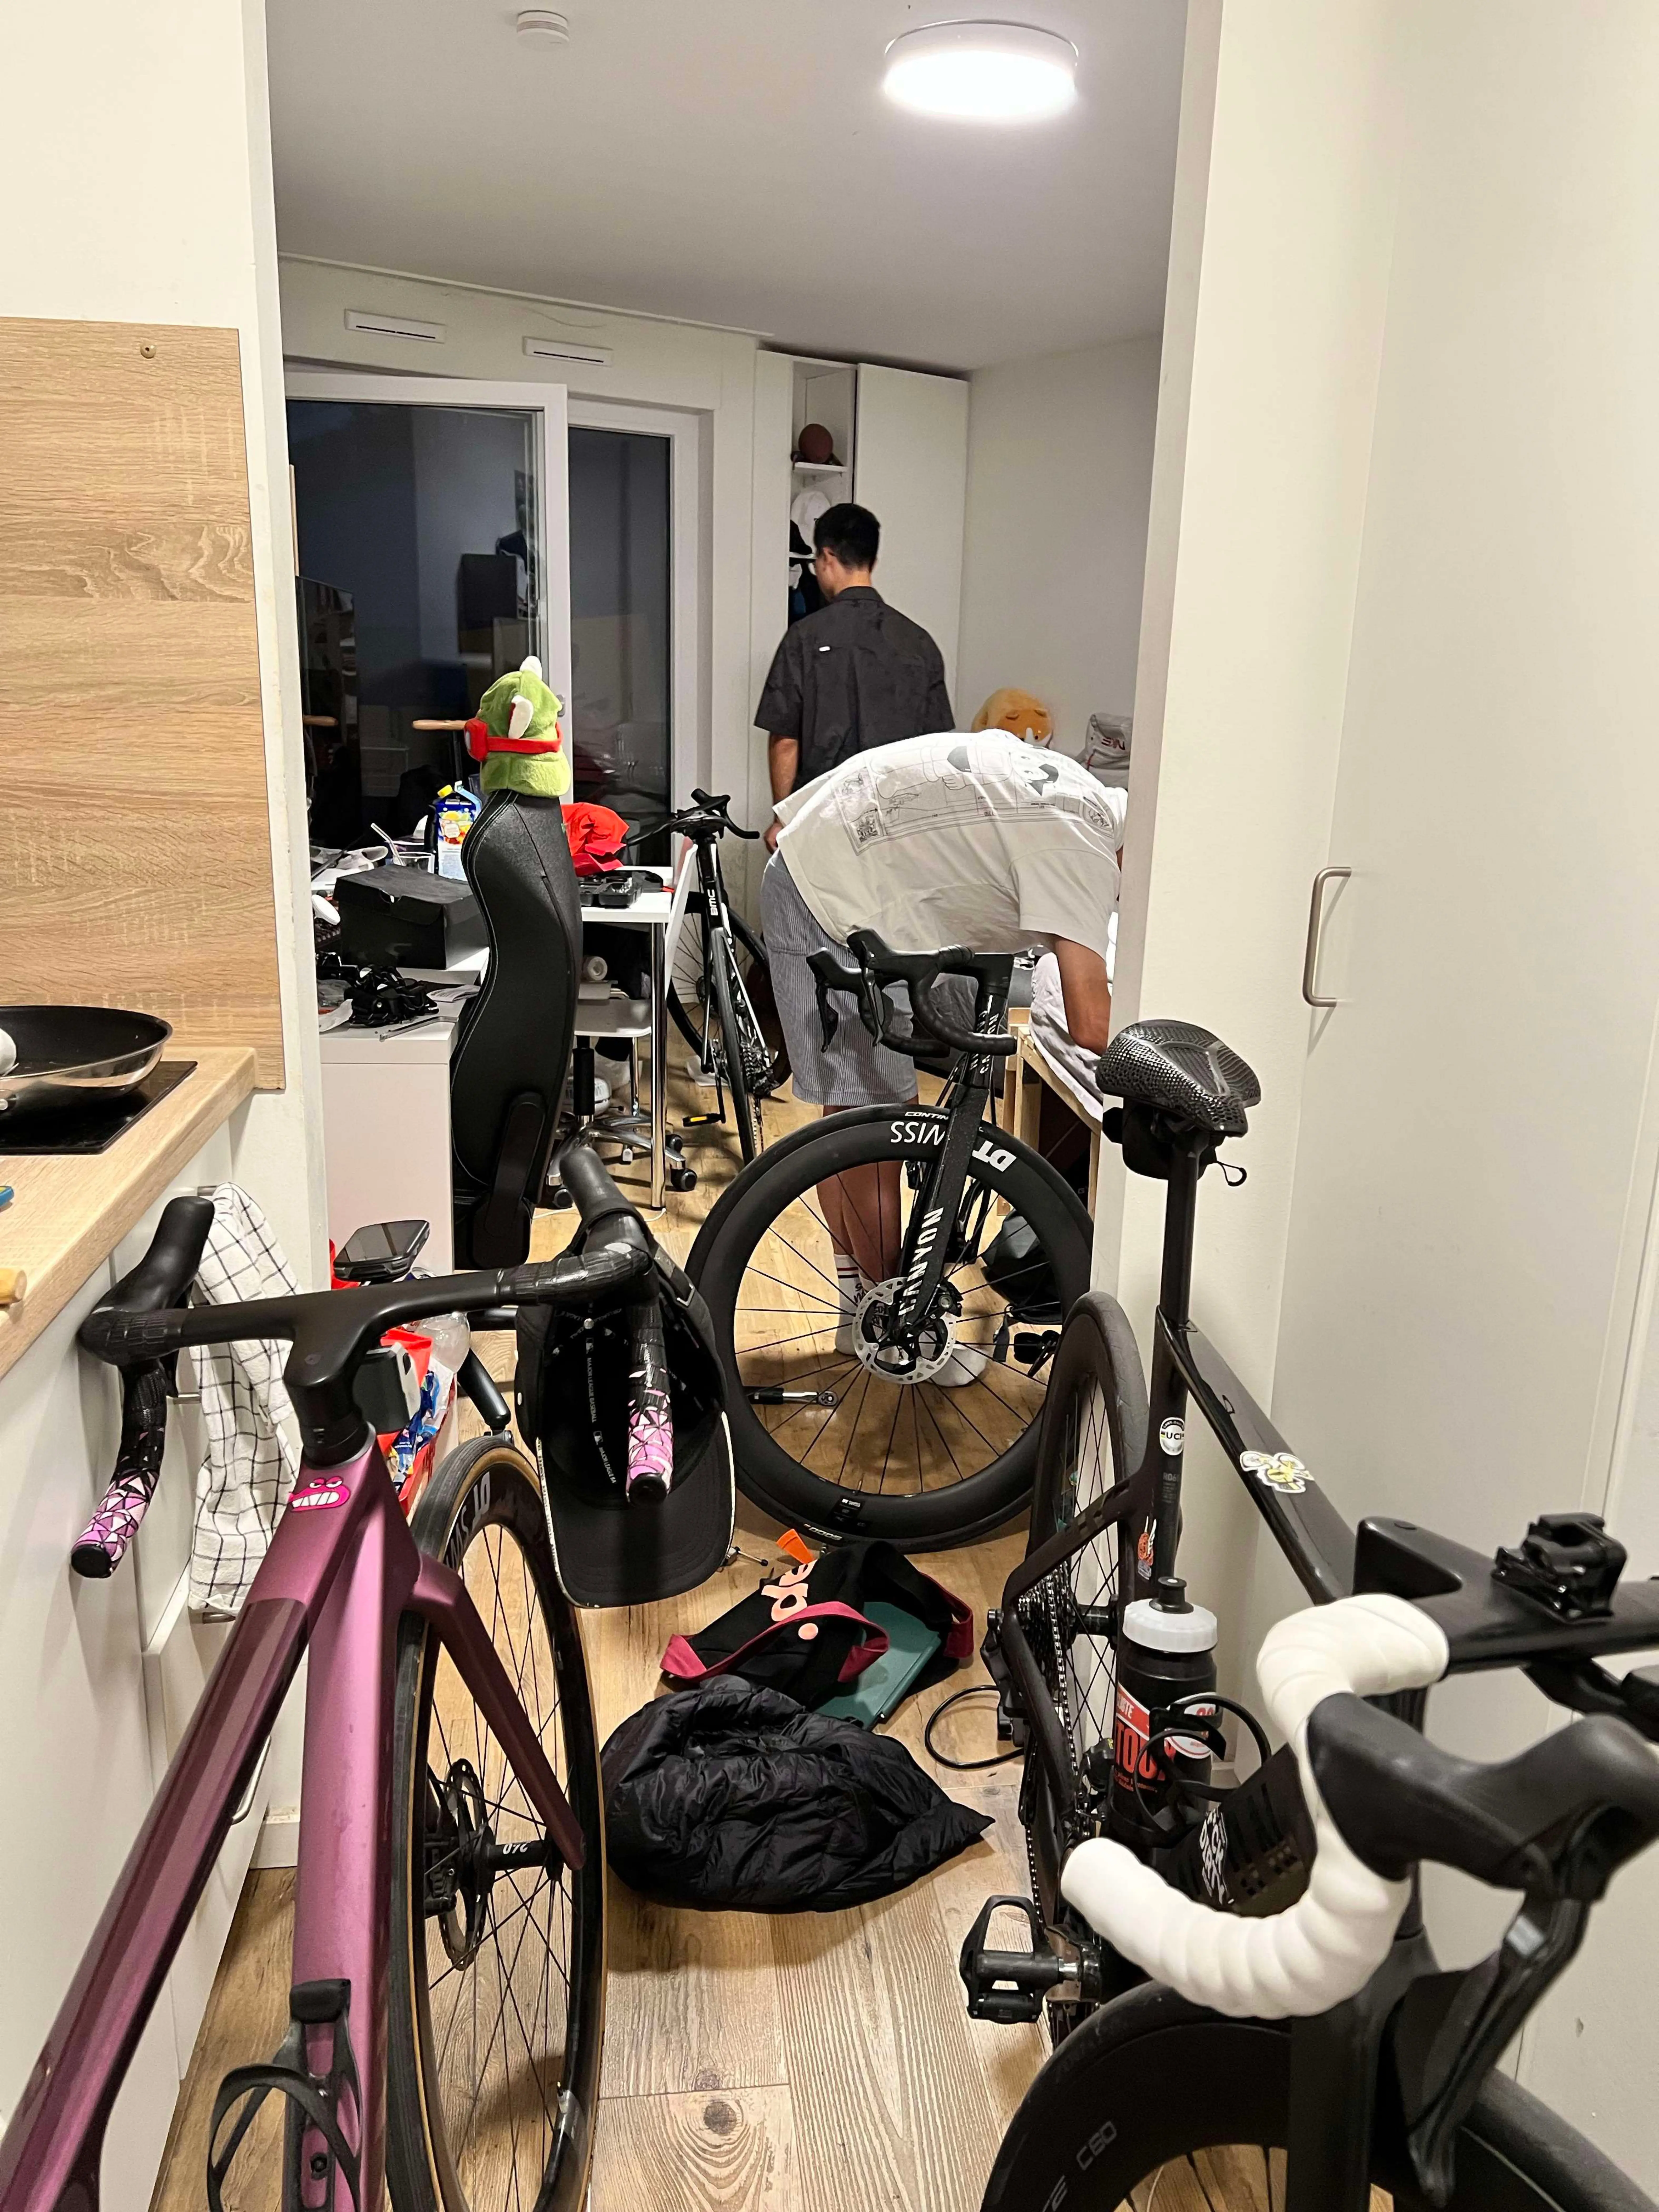
The most common thing that cuts a ride short isn’t someone running out of energy — it’s a problem that could have been caught three minutes before departure: low tire pressure, worn-down brake pads, a loose quick release.
The routine below works whether you’re riding solo or in a group, and once you’re used to it, it takes about three minutes.
1. Personal gear
| Gear | Requirement | Notes |
|---|---|---|
| Helmet | Required | Not legally mandatory for adults in Germany, but required on most group rides. A helmet is a wear item — after an impact, replace it even if it looks fine on the outside |
| Glasses | Strongly recommended | Blocks wind, bugs, and road debris. Use photochromic lenses or swap clear/tinted depending on weather |
| Gloves | Strongly recommended | Your hands are the instinctive first thing to hit the ground in a crash — gloves noticeably reduce road rash and also absorb vibration |
| Cleats + clipless pedals | Optional | Improves pedaling efficiency, but beginners should practice clipping in and out against a wall or on grass before joining a group ride |
| Cycling kit | Recommended | Padded shorts significantly reduce chafing on long rides; jersey pockets carry snacks better than a backpack |
Beginner tip: the first time you ride with cleats in a group, let people know beforehand. Stopping, intersections, and starting on a climb are the situations where failing to unclip most often causes a fall.
2. The ABC Quick Check (pre-ride check)
An internationally common mnemonic for checking your bike before a ride — takes 30 seconds to 3 minutes.
A — Air (tire pressure)
Squeezing a tire by hand only tells you “has air” versus “no air” — not whether it’s actually enough. Use a floor pump with a gauge and check before every ride. Road tires naturally lose air every day, even if you pumped them up yesterday.
Reference starting pressures (rider around 70 kg / 155 lb, clincher tire with inner tube):
| Tire width | Front | Rear |
|---|---|---|
| 25c | 6.0–6.5 bar (87–94 psi) | 6.5–7.0 bar (94–101 psi) |
| 28c | 5.0–5.5 bar (72–80 psi) | 5.5–6.0 bar (80–87 psi) |
| 32c | 4.0–4.5 bar (58–65 psi) | 4.5–5.0 bar (65–72 psi) |
A few principles:
- The min/max printed on the tire sidewall is an absolute limit — no recommended value should exceed it
- Adjust roughly ±0.3–0.5 bar (5–7 psi) for every 22 lb (10 kg) of body weight difference
- The rear wheel carries more load, so run it 0.3–0.5 bar (5–7 psi) higher than the front
- Tubeless tires can run 0.5–1.0 bar (7–15 psi) lower than the table above
- Lower pressure slightly in rain or on rough surfaces — it improves grip and comfort
Recent real-world testing increasingly shows that on actual road surfaces, overinflating a tire often reduces rolling efficiency because of vibration losses. “Pump it rock-hard for max speed” is outdated advice.
B — Brakes
- When you squeeze the brake, it should feel progressive and firm, not go all the way to the bar with no bite
- Rim brakes: check pad thickness and the wear grooves; the pad should sit squarely on the braking surface, not touch the tire sidewall
- Disc brakes: check pad thickness (replace under 0.5 mm) and spin the wheel to check for continuous rubbing
- Rotors and pads must never come into contact with oil. Contamination causes a sharp drop in braking power that’s usually only fixed by replacing the pads
C — Chain / Cranks (drivetrain)
- Check the chain is clean and quiet — lube it if it sounds dry
- Front and rear shifting should be smooth, and every gear should engage cleanly
- Turn the crank and check for play or unusual noise
Quick — quick release / thru axle
Are the front and rear quick releases or thru axles fully tightened? This is the most commonly overlooked item, and the consequences are the most serious. A quick release lever should require noticeable hand force to close, and the closed lever position shouldn’t foul the frame or a disc rotor.
Check — full bike check
Lift the bike and tap it gently on the ground, listening for loose rattles; check that the saddle and stem bolts, computer mount, and lights are all secure.
3. Tools to carry
For longer rides, carry these — and know how to use them:
- Spare tube ×1–2 (valve type and length matched to your wheelset)
- Tire levers ×2
- Portable pump or CO₂ cartridges (CO₂ is fast but single-use — carry at least one pump as backup)
- Multi-tool (with common hex sizes and a T25 Torx)
- Quick chain link (matched to your chain’s speed — an 11-speed link doesn’t fit a 12-speed chain)
On a group ride, not everyone needs a full kit, but everyone should carry a spare tube that fits their own bike — someone else’s tube isn’t guaranteed to fit your wheelset.
4. Electronics
- Bike computer / phone: check battery, import your route in advance
- Electronic shifting: check the battery before you leave. When it runs low, front shifting usually goes first while the rear derailleur keeps working a bit longer
- Lights: worth carrying even for a daytime ride — mountain tunnels, sudden weather changes, or a delayed return can all leave you riding in low light
Next steps
- Traffic rules and right-of-way → German Traffic Rules for Cyclists: A Beginner’s Guide
- Group riding etiquette → Group Riding Etiquette: Hand Signals, Formation, and Following Distance
- Bike setup → Bike Setup Basics: Saddle Height, Hand Position, and Shifting
Comments
Join with GitHub or email